
A jar of herbal-infused oil looks almost too simple to be useful. Then you use it. Natural skin care. Plant medicine on a fork. A spoonful of rosemary oil over a beet salad, a few drops of calendula oil worked into dry hands, a balm that started life as an infused oil. Herbal-infused oils are one of the easiest ways to extract the culinary or medicinal properties of a plant, and it is also one of the most forgiving projects a beginner can take on.
What trips people up is not the technique. It is the decisions made before any oil gets poured: which herbs, which oil, fresh or dried, and what the finished bottle is actually for. Work through those choices first and the rest of the process for making herbal-infused oil is mostly patience. So, welcome to my new series about herbal-infused oil for beginners! Over the coming weeks, I will share some tips and best practices for bringing herbal-infused oils, plant medicines, and natural skin care products into your life.
What Are Herbal-infused Oils?
An infused oil is a carrier oil that has spent time in contact with plant material, picking up the plant's flavor, scent, and phytochemicals along the way. The herbs can be fresh or dried. The finished oil can be used directly on the skin, cooked with, or included in a cream, salve, or balm. Plenty of people keep a few jars on hand simply because different herbs offer different options for boosting homemade body products.
It helps to separate two categories that share a method but not a purpose. Kitchen oils and body oils come out of the same process and end up in completely different places.
Kitchen Oils and Body Oils Are Different Projects
The technique is the same for both, but the herb list and the oil choice change depending on which one you are making.
Herbal-infused oils for eating and cooling lean toward savory and bright flavors. Garlic, rosemary, basil, and chili are all solid herbs to infuse for cooking.
Herbal-infused oils for the body lean toward skin-friendly herbs and plants, used for skin ailments, sore muscles, or general skincare, and often built afterward into a cream or salve.
Flavor pairing follows the same logic as cooking with fresh herbs. A rosemary-infused walnut oil works beautifully on a beet salad, while a sage-infused olive oil is a natural fit for roasted winter squash. If you are making skincare oils instead, pick herbs or plants which have medicinal properties for skin support and choose an oil you would be happy to use on your body every day. You also want to make sure to choose oils, herbs, and plants you are not allergic to, of course!
Choosing Herbs for Your First Infusion
Herbs for cooking
Garlic, rosemary, basil, and chili are a reliable starting set. They are easy to find, they infuse well, and each one has an obvious place in the kitchen. If you would rather buy than make, bottled infused olive oils are widely available in herb and citrus flavors, and some citrus versions are sold under the name agrumato.
Plants for skin and body
Calendula (Calendula officinalis), St. John's Wort (Hypericum perforatum), and arnica (Arnica montana) are among the plants commonly turned into oils for salves and balms. These are the same plants you will find in a sore muscle balm or a tattoo balm. If you plan to make skincare products, choose herbs, plants, and oils with that end use in mind rather than starting with whatever happens to be in the spice drawer.
Fresh or Dried Herbs
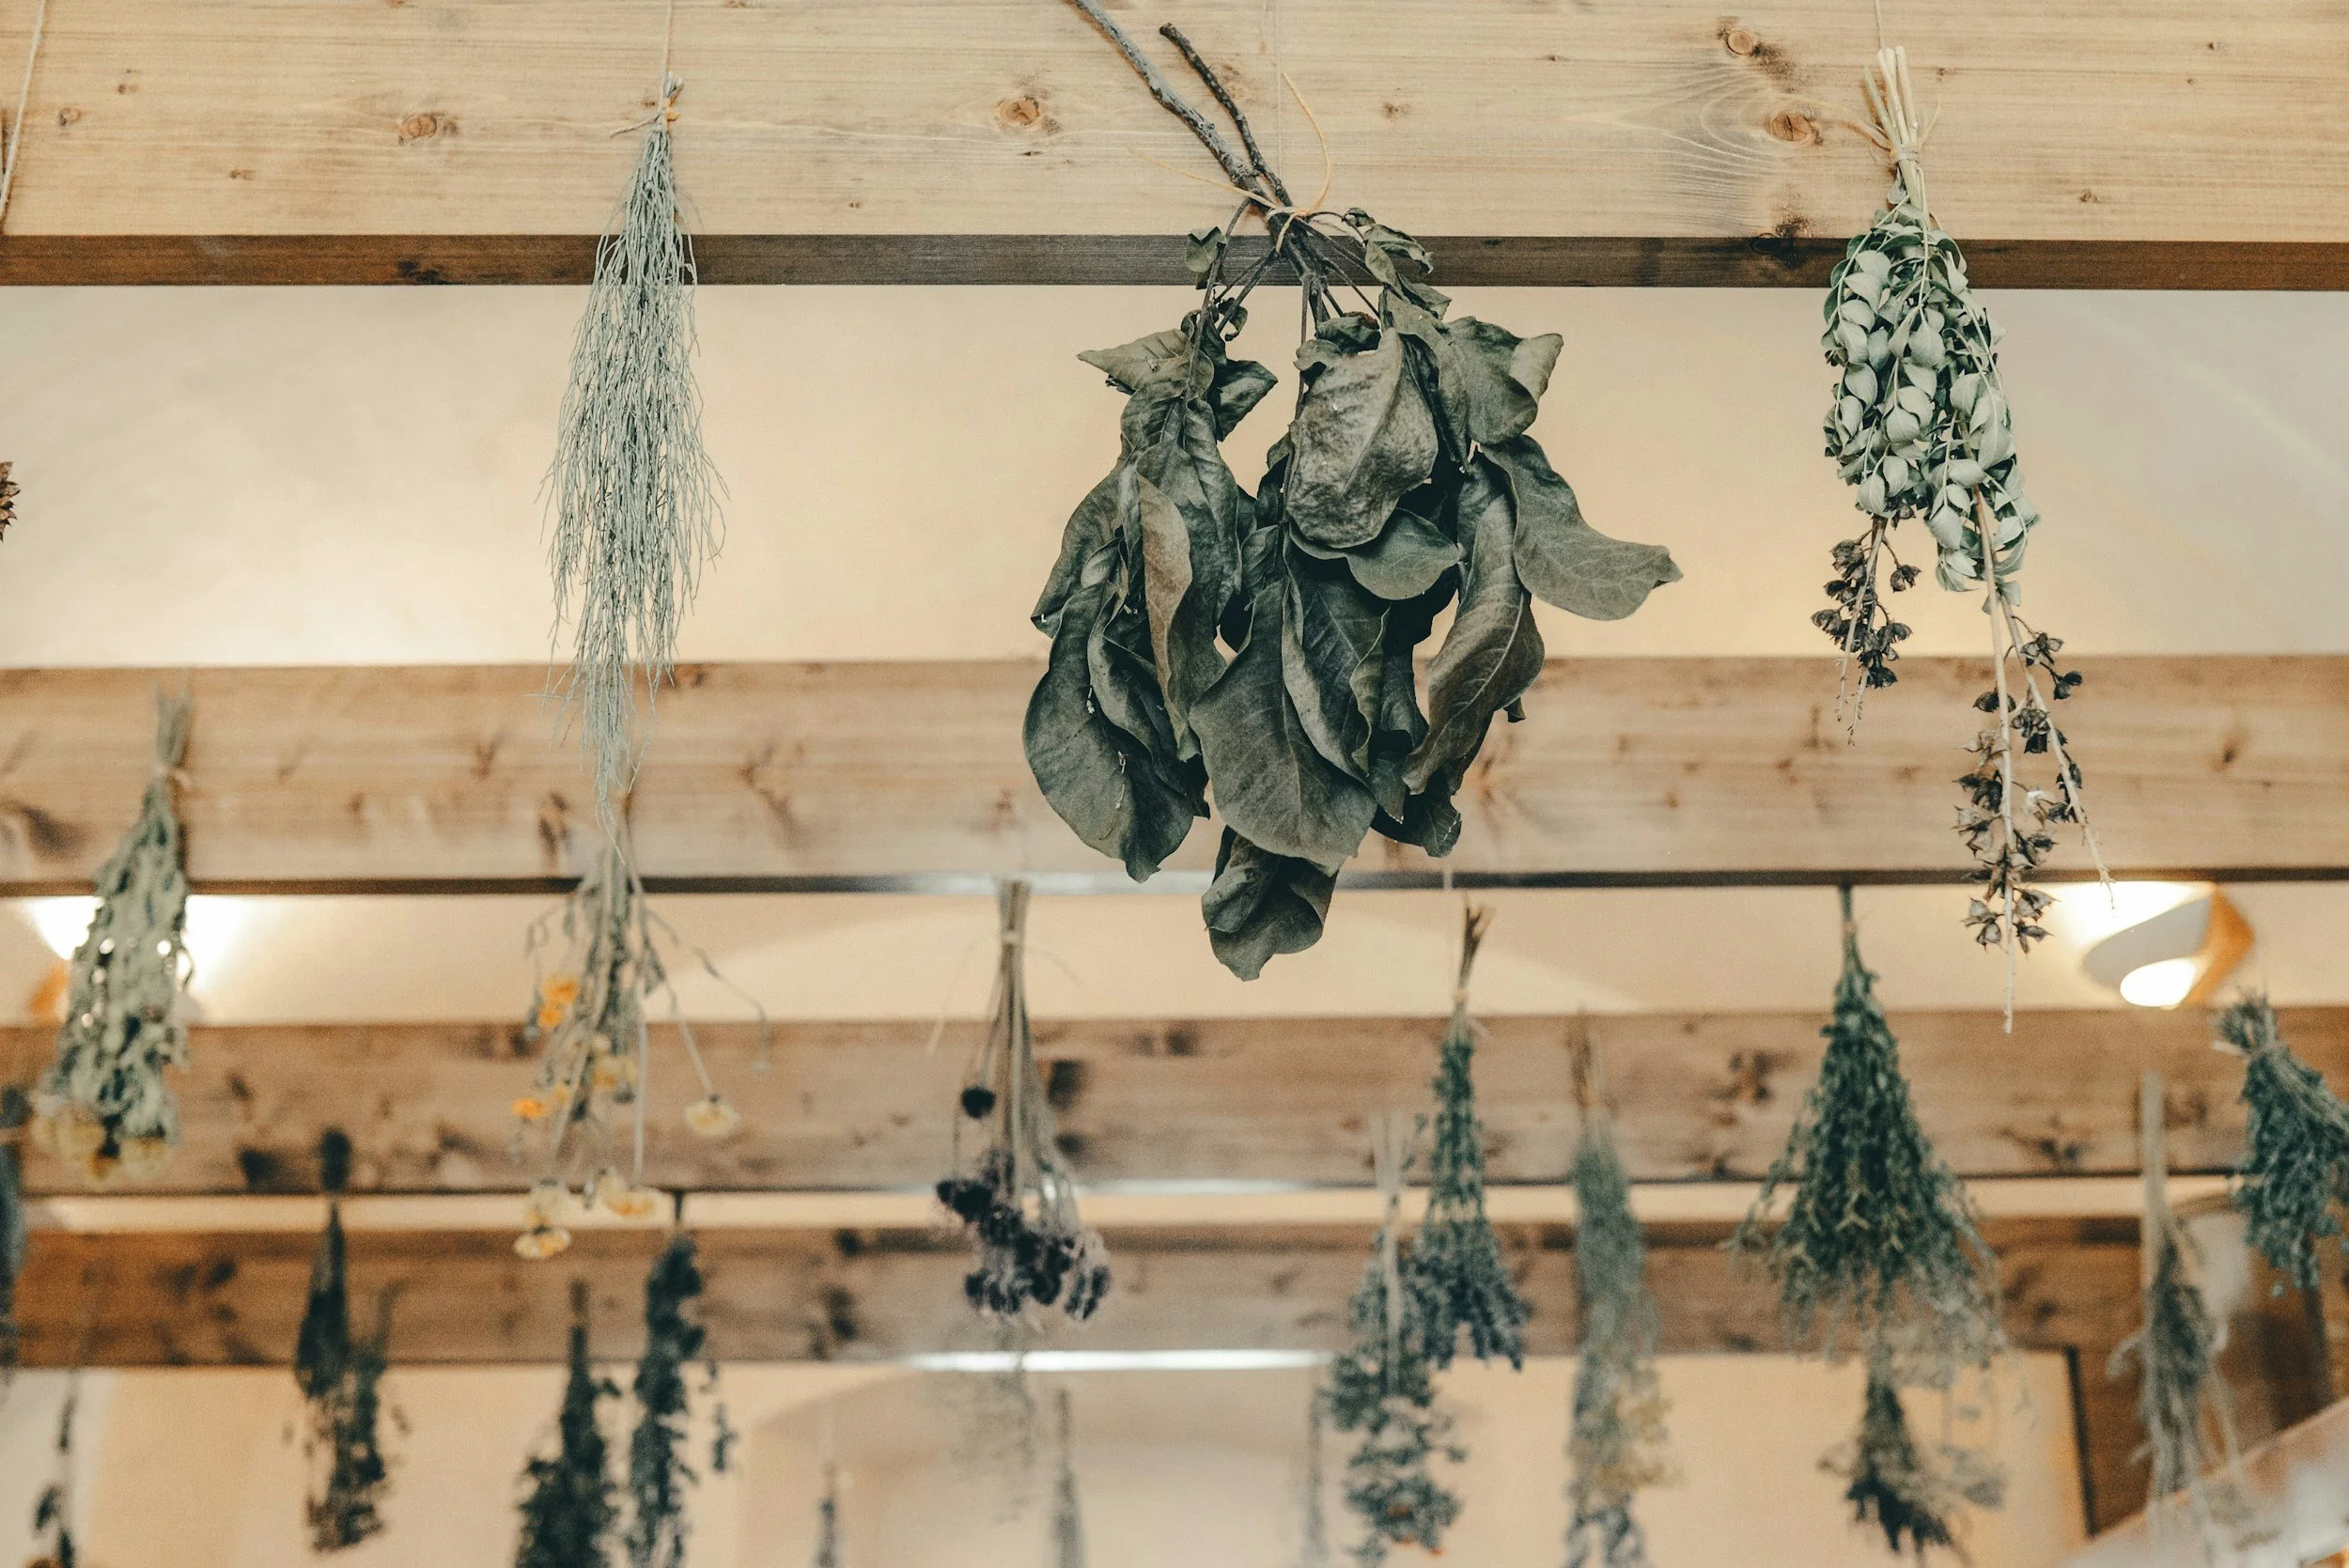
You can infuse dried or fresh herbs, but dried is the safer place to begin. Fresh herbs can sometimes harbor molds, and the water they carry can push an oil toward going rancid. Drying your herbs first removes most of that risk and gives you a more stable finished oil.
If you grow your own herbs, harvest and dry them before infusing. If you buy them, good quality dried herbs from a source you trust work just fine.
Choosing a Carrier Oil
With herbal-infused oils, the herb or plant gets the attention, but the carrier oil is most of what ends up in the bottle. There is no single best choice, which is exactly why makers compare several carrier oils and pick one over another depending on the job at hand.
For cooking, choose an oil whose flavor you already enjoy eating. Olive oil is the classic, and walnut oil is a good match for certain dishes. Again, make sure you're not allergic to anything you use.
For skincare, choose an oil that suits your skin issue or skin type, and will not go bad before you use it up. A tip is to always test a small area of your skin to make sure how you will react, especially if you have sensitive skin or are prone to reactions.
For salves and balms, the infused oil and other oils are the base that gets thickened with wax (usually beeswax), so a stable, neutral-leaning oil with particular properties for the skin is often the practical pick. Common picks for herbal-infused oils include sweet almond oil or olive oil.
A simple rule for beginners: if you would not use the plain oil on your salad or on your skin, do not use it as your infusion base.
Two Ways to Infuse
Infusing can be done with gentle heat or with time. The heat method speeds the process along, which is why it shows up so often in tutorials. Remember to use a low heat because high heat can ruin the herbal and plant properties that support the body. The slower route is to combine herbs and oil, seal the jar, and let it sit, shaking occasionally, until the oil has taken on the scent and color of the herb.
Whichever route you choose, the goal is the same: to allow the oil to extract the medicinal chemicals and plant properties that will benefit your body. Give the oil enough contact with the plant material to pull out what you want, without cooking the herbs or letting anything spoil. If you are working with garlic or any other ingredient where food safety matters, check current guidance from a food safety authority before storing that oil long term.
Straining and Storing
Set up a clean jar and a strainer lined with fine cloth.
Pour the infused oil through, pressing gently on the herbs to release the oil they are still holding.
Decant into a clean, dry bottle and label it with the herb and the date.
Store it away from heat and direct light, and trust your nose. An oil that smells sharp or off has finished its run.
Keeping notes on what you used and how the oil turned out is the fastest way to improve, because your own results will teach you more than any general rule can.
What to Do With a Finished Oil
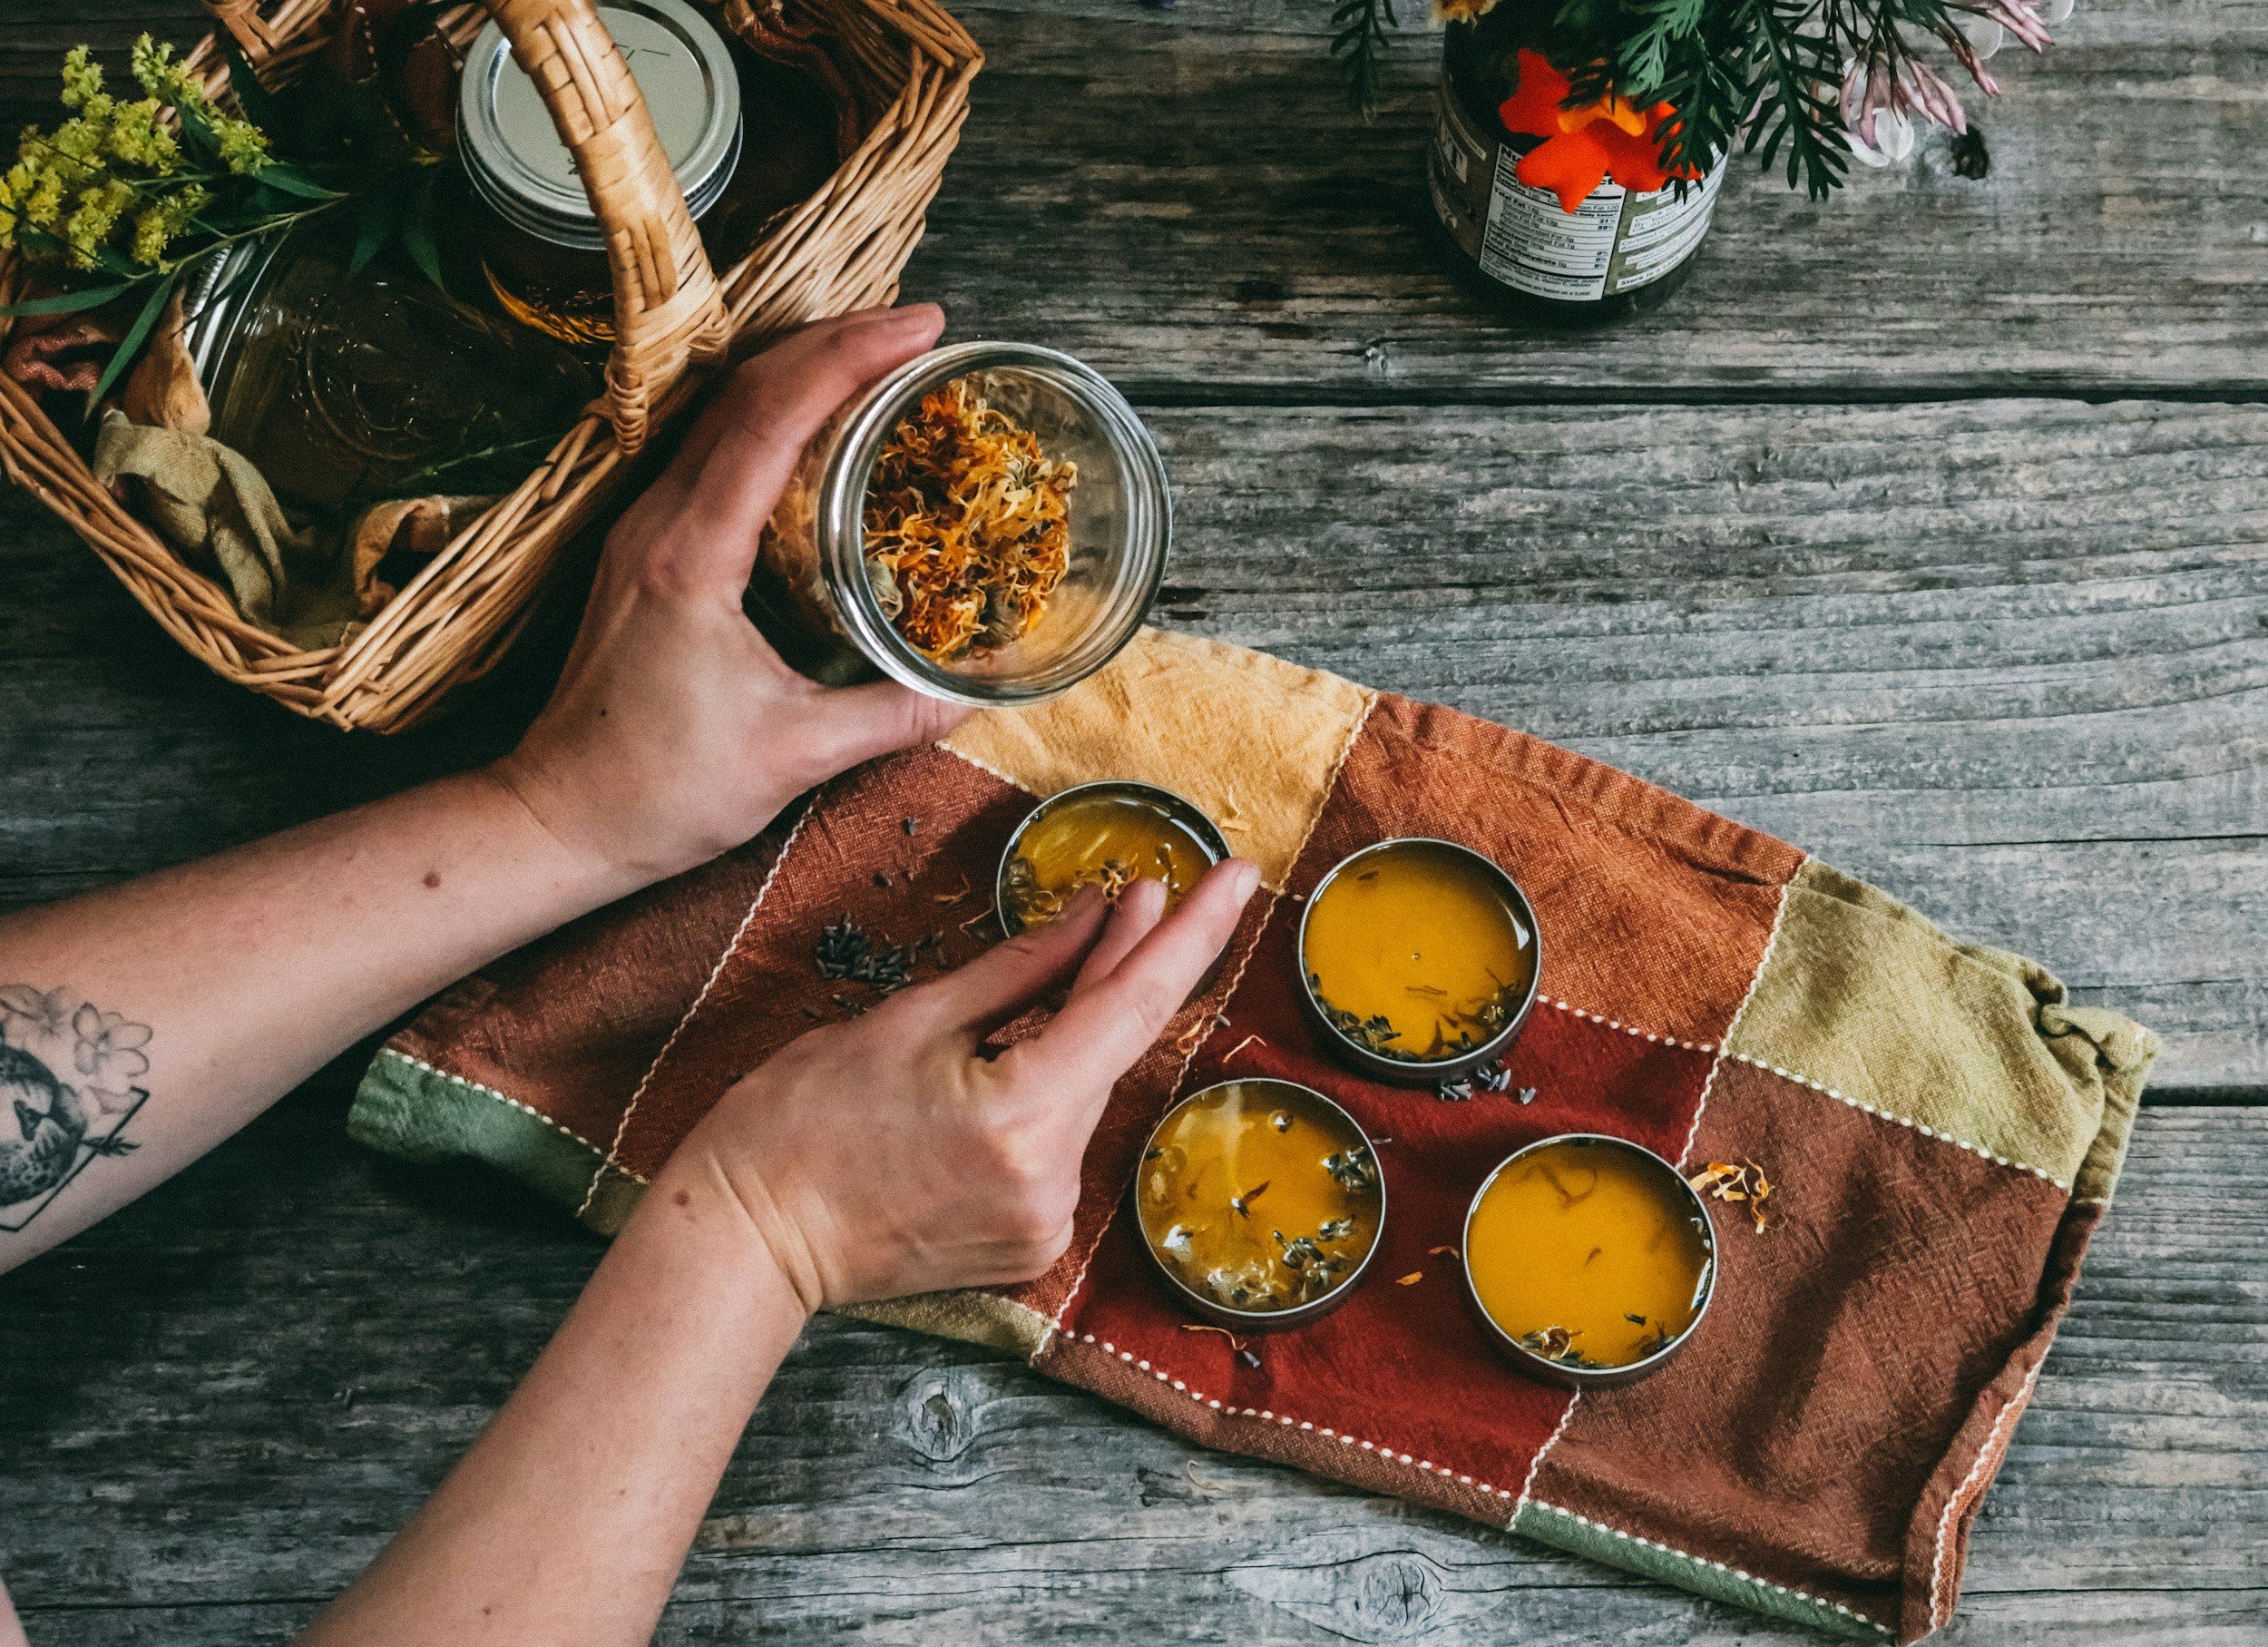
Herbal-infused oils can be used directly or included in a cream or salve, and that flexibility is the whole point. A calendula oil can go straight onto dry skin or become the base of a calendula salve. An arnica or St. John's Wort oil can be worked into a sore muscle balm. A rosemary or chili oil can go into a pan.
If you would rather learn with someone guiding you, a hands-on workshop is a good shortcut. It removes the guesswork from the parts that are hard to describe in writing, like how much herb to use and what the oil should look like when it is ready.
A Note on Buying Instead of Making
There is nothing wrong with buying. Small-batch herbal-infused oils, salves, and balms are available from makers who have herbal and plant knowledge, and commercially bottled infused olive oils are easy to find in herb and citrus flavors. Read the label so you know whether you are getting an infused oil or a flavored one, and check the ingredients if you have sensitivities. Also watch out for products that only use essential oils and not herbal-infused oils. The beneficial plant chemicals will be in the herbal-infused oils. If you can find how a company makes its herbal-infused oils, you can also see if they use techniques that yield the most potent oils for their products. Other variations in herbal-infused oils and skincare products to consider when buying include preferences around organic status or sustainable sourcing of the herbs, plants, and oils.
Frequently Asked Questions
Can I infuse oil with dried herbs?
Yes, and dried herbs are the better starting point for most beginners. Dried plant material carries far less water than fresh, which means the finished oil is less likely to grow mold or turn rancid. You can dry herbs yourself or buy them already dried, then cover them with your chosen carrier oil and let the two steep together. You can learn the variations in preparation in an herbal-infused oils class.
What are herbal-infused oils?
Herbal-infused oils are carrier oils that have been infused with plant material so the oil takes on the herb's flavor, scent, and properties. They can be made at home or bought ready-made. Once finished, an herbal oil can be used on its own, cooked with, or turned into a salve, balm, or cream depending on which herb you chose (some plants should be not eaten).
Can I make herbal-infused tallow?
Tallow behaves like any other carrier fat, so the same approach applies. Combine it with dried herbs, use gentle heat or give it time to steep, then strain the plant material out. Tallow is solid at room temperature, so you may need to warm it slightly before straining. Work in small batches while you learn how the fat takes on each herb.
Is herbal-infused oil good for hair?
Many people use herbal-infused oils as part of a hair and scalp-care routine, and the experience varies from person to person. What matters most are the carrier oil(s) you choose and whether your scalp tolerates it. Patch test anything new, start with a small amount, and check with a qualified professional if you have a scalp condition or sensitivity. You will also want to determine which carrier oils are best for your hair type and scalp needs.
Do I need special equipment to make herbal-infused oils?
Not much. A clean jar, your herbs, a carrier oil, and something to strain through will get you started. A fine cloth or mesh strainer keeps plant material out of the finished bottle. If you plan to make salves, you will also need a beeswax and a way to warm the mixture gently (like a double-boiler of some kind), but the oil itself asks for very little. Items to create a double-boiler are helpful, and know when I started out making herbal-infused oils for my family, I just used an empty Folgers can and an already-owned sauce pot! Start with what you have.
